June 10, 2026 in Roofing
UV Damage to Roofs: Don’t Underestimate It
Your roof faces elemental threats every day. Storms are among the most powerful, with the potential to rip away shingles and knock over trees. But there’s another threat that often goes unnoticed. A silent roof assassin. It shows up on lovely summer days, coming from the sun itself. The potential UV damage to roofs is extensive.
UV rays are one of the most consistent and underestimated forces working against your roof. By the time the damage becomes obvious, it’s usually been building for years. Are you ready to find out exactly how UV damage to roofs works, what warning signs to look for, and how different roofing materials hold up under constant sun exposure? Doesn’t matter, because we’re going to tell you.
How UV Actually Breaks Down Your Roof
Most people only think of sun damage as shingle-deep (bleaching, fading, a little cosmetic wear). The reality is more sinister. UV radiation triggers a process called photodegradation, which breaks down the chemical bonds within roofing materials themselves. This isn’t just a coating wearing thin. The structural integrity of the material is changing at a molecular level over time. In essence, that silent assassin is poisoning your roof!
Don’t worry. We’ll discuss the “antidote.”
UV damage to roofs doesn’t work alone, either. It operates as part of a two-part system alongside thermal cycling: the daily expansion and contraction your roof goes through as temperatures rise during the day and drop at night. UV weakens the material first; then the stress of thermal cycling exploits that weakness. These two forces seem to be in cahoots. They compound each other in ways that significantly accelerate deterioration, especially on roofs that are already past their midpoint in lifespan.
In plain terms: UV dries out and breaks down your roofing materials, and the daily heat cycle cracks what’s left. Neither force alone is as damaging as both working together.
Signs Your Roof Is Losing the Battle
Some signs of UV damage to roofs are visible from the ground. Others require a closer look. Here’s what to watch for:
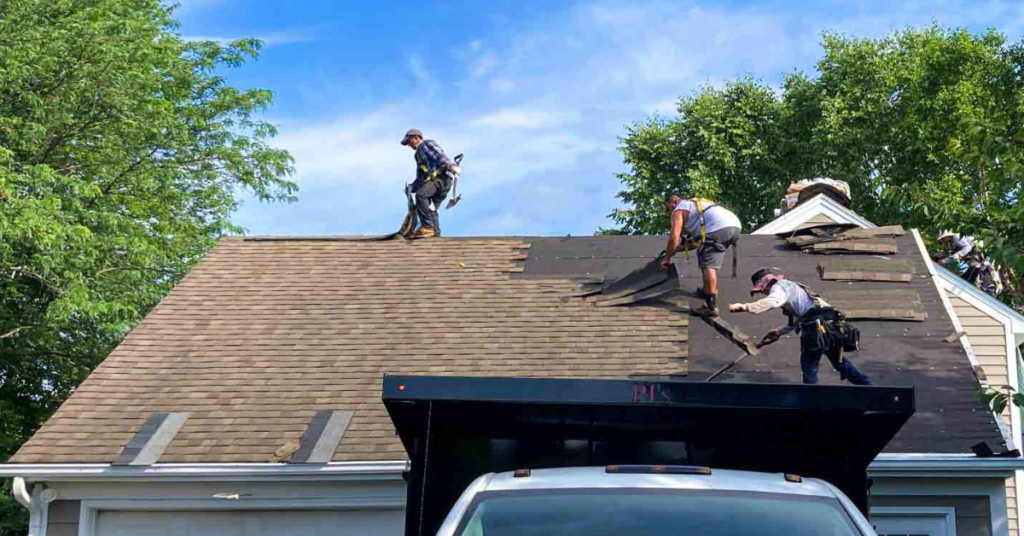
- Granule loss: The granules on asphalt shingles are your roof’s first line of UV defense. When you start finding them in your gutters or at the base of your downspouts, take it as a sign. Once those granules are gone, roof shingle deterioration accelerates quickly because the underlying asphalt layer is exposed directly to the sun.
- Curling, cupping, or lifting shingles: This is the drying-out effect of sustained UV exposure made visible. As shingles lose moisture and flexibility, they begin to curl at the edges or cup in the center. This makes them vulnerable to wind damage and water infiltration.
- Color fading or uneven discoloration: Fading signals that the protective coating is breaking down. Uneven discoloration often means certain sections of the roof are degrading faster than others, which can point to ventilation issues or material inconsistencies.
- Brittleness or visible cracking: Walk close to your roofline or have someone inspect it up close. Shingles that crumble at the edges or show visible cracking are well into the late stages of UV damage and need immediate attention. They’re basically crying out for help.
If you notice any combination of these, it doesn’t automatically mean you need a full replacement. It does mean a professional eye is warranted, though. Some of these signs develop gradually, which makes them easy to underestimate until you’re looking at a repair bill that could make a grown man cry.
How Different Roofing Materials Hold Up
Not all roofing materials respond to UV exposure the same way. Some take it like a champ, but experience damage nonetheless. Understanding the differences can help you make a smarter choice when it’s time to replace your roof.
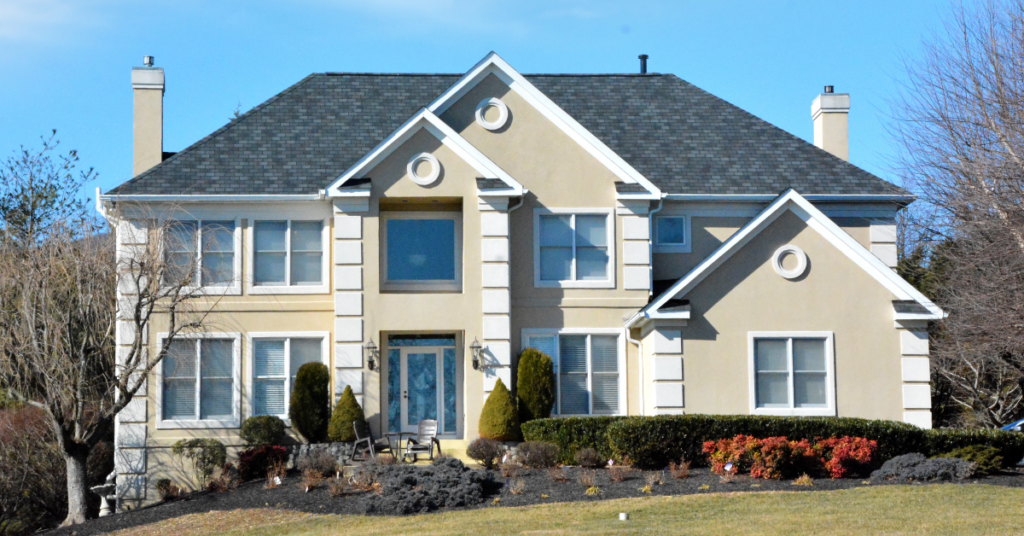
Asphalt shingles are the most commonly installed roofing material and the most vulnerable to UV damage. The granule layer is the primary defense. The armor, if you will. Once those granules begin to shed, roof shingle deterioration can move quickly. High-quality architectural shingles are more resistant than basic three-tab options, but all asphalt roofing has a finite UV tolerance. Nothing is invincible, after all.
Metal roofing handles UV very differently. Rather than absorbing radiation, metal reflects it. Metal roofs tend to hold up exceptionally well under long-term sun exposure, which is one reason they carry longer warranties.
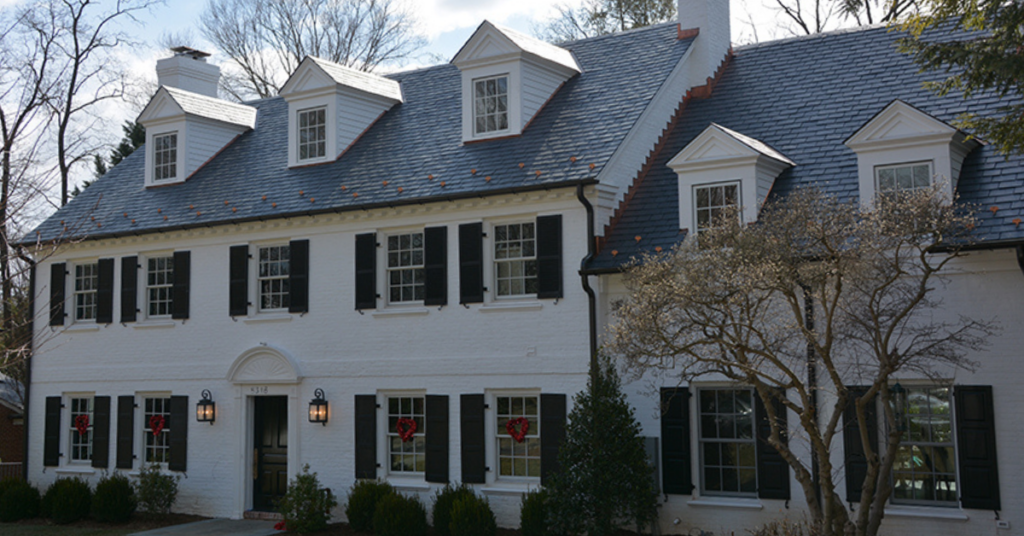
Slate and synthetic slate are among the most UV-resistant roofing materials available. The density of natural slate means UV radiation has very little to work with, and synthetic slate is engineered with similar properties in mind. The long lifespans associated with both materials are partly a direct result of this UV resistance.
Cedar shake is beautiful but requires more attention. UV exposure dries out the natural oils that keep wood fibers flexible, making cedar shake brittle over time if it isn’t properly maintained. Regular treatment can extend the life of a cedar roof considerably, but it’s a material that demands ongoing care. Wonderful material, but very needy.
There’s no single “best” material for every home or every budget, but knowing how your current roof handles UV exposure puts you in a better position to plan ahead. At PJ’s Roofing, our estimators are tradespeople, not salespeople. When we walk a roof, we’re giving you a true read on what’s happening, not steering you toward a particular product.
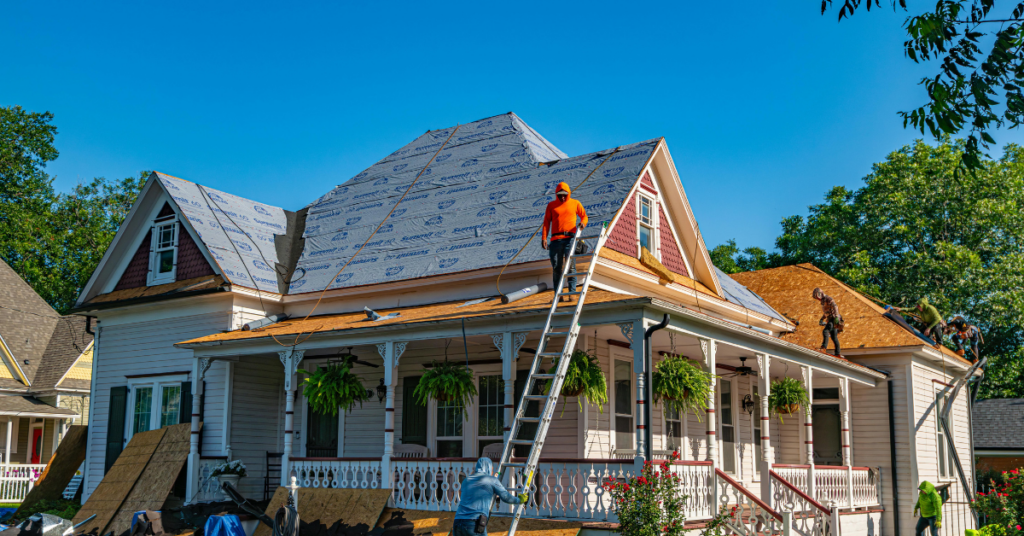
When It’s Time to Stop Watching and Call a Roofer
Not every sign of UV damage to roofs requires urgent action. Knowing the difference between “keep monitoring” and “call now” can save you both stress and money. We’d love to come over and chat, but we understand if you don’t want to call us just yet.
Keep monitoring if you’re seeing minor fading, a small amount of granules in the gutters on a roof that’s less than 10 years old, or no visible cracking or curling on close inspection. Document what you see and check again in a few months.
If things are more serious, though, call the pros at PJ’s. We’ll come check it out if you’re seeing significant granule loss concentrated in one area, multiple shingles that are curling or cupping, any visible cracking or brittleness, water stains on your ceiling or inside the attic, or a roof that’s more than 15 years old showing any of these signs. These are indicators that UV damage to roofs isn’t messing around and is close to causing expensive chaos.
Important note: UV damage compounds. What looks minor in April can deteriorate significantly by August. The combination of summer heat, UV intensity, and thermal cycling means the later months of the year often push a marginal roof past its tipping point (Maryland summers are a nuisance). If you’re unsure, the time to get a look is before summer peaks.
Not Sure Where Your Roof Stands?
We’ve been serving homeowners in Frederick, MD and the surrounding region for more than two decades, defending their roofs from the scourge of UV rays. Such damage is slow and invisible, until it isn’t. And by the time it’s obvious, the repair costs have usually grown. Our team offers free inspections and will give you a straight answer about what we find. If you need roof repair in Frederick, MD, or you’re simply due for a checkup before summer hits its stride, we’re here.
Get in touch to schedule your free inspection, and let’s make sure everything is ready to defend against the siege of summer rays.